Sunday, July 31, 2011

Pinterest Challenge: Project #1

In this recent post, I accepted the Pinterest Challenge, and mentioned the idea behind my first project.  Though, I felt it was cheating to repeat a project, I did want a "do-over".  I made the first one, from this post, for the space above the television and I just never really liked to for that space.  I decided to hang the old one over the staircase for now because this space was empty and needed something.  (I usually have some seasonal decoration to hang here - but I don't have anything for summer yet).
Once again, the space above the television was empty...

So I figured, why not try again?  This time I wanted to change the color and the design.  So I headed over to Pinterest.  Here was the Pin-spiration:
                         
Instead of creating my own design like last time, I decided that I actually wanted to replicate this pattern as much as possible since I liked the circular-type formation for the space above the T.V.  So I dug out my box of toilet paper rolls...
 ...(I've made my parents begin to collect them now too!) and started cutting and arranging the design.
Once I had the design down, I broke out the super glue and the clothes pins and got to work.

Soon I realized that super glue was not the best option.  I used super glue the last time, so I automatically started using it again this time, but this project required a lot more glue.  So I dug out my glue gun and kept on gluing. 
Then I was finally happy with the size of the design (and I ran out of pieces!) and I was ready to paint!
With the pieces all glued together, I headed out for some spray paint.  Originally, I assumed I'd paint it white mostly because I couldn't think of another color that would look good in the living room, but I wanted to change things up from the last project, which was painted white.  I decided to try Oil Rubbed Bronze, which I'd seen and liked on Young House Love.  Now I think I found a new favorite go-to spray color!!  

 Now that the piece is finished and up on the wall, I love it.  First, I think this design fits the space here much better than the last one.  Second, I love the color choice - the ORB makes the piece look like a shiny metal instead of cardboard!  Overall, I'm very happy with this project and plan to do more toilet paper art work in the future!  For now though, I found made something neat for the empty space and I have my first Pinterest Challenge Project finished.  One down!!


P.S. Go check out the original Challengers:
Katie @ Bower Power

Friday, July 29, 2011

Summer Overhall: The Past, Present, and Future Library!

The library (one of my favorite parts of my house!) is finally done!  Well...at least for now.  I still have several updates planned for this space, but for now the changes so far are a huge improvement.  Let's start at the beginning, though.  Here is what the library looked like when I moved in about a year and a half ago:

Because this room is the first room you walk into from the garage (aka: my main entrance), a lot of stuff started collecting here.  This is what the library looked like a few weeks ago - yikes!
Needless to say, it needed to be cleaned out before we could paint.  So, I started in one night and a few hours later.  (..and yes, that is a Twilight movie poster on the back wall - I'm only slightly embarrassed to admit that!)
Much better.  The library was still a difficult room to paint, though, because I have so, so many books!  We ended up doing half one day and half the next so that we could manage all the books without having to lug them all over the house.  Here are some of the "in progress" pictures we managed to snap in the chaos of those days:

Then, after our marathon painting session (we were soo tired of the gray color by the time we started painting this area!!), we took a break to run out and grab a new white book case.  As you can see by the stacks in the picture above...I can always use more shelves! Now I have 5 five-shelf white book cases and 4 of the four shelf built-ins, which means you can legitimately be surrounded by books down there now! Here are a few pictures of the library as it is now - all painted, organized and with the new bookcase:

Very pleased with the progress made so far in the library, but I still have a ton of ideas for updating this space.  And so begins the list...

1) The concrete floors. 

I haven't quite decided what I want.  Do I continue with the hardwood floors like the rest of the house?  Do I paint the floors a like-able color, maybe with some cute designs?  Do I cover the ugly floor with a giant rug?  Not sure.  Yet!  But the floors are at the top of the to-change list.

2)  The furniture.

My parents were nice enough to let me have the sofa and brown chairs when I moved in so that I wouldn't have to sit in the floor (although I do think they were just wanting to get rid of these pieces so that it freed up space in their house - I still appreciate it!).  The coffee table was a quick purchase before moving into my first apartment my sophomore year at college.  

These pieces have been so useful so far (and continue to be used right now!), but I hope to swap them in the future.  I'm wanting to get a giant, comfy reading chair and chaise.  I would also like to get a new coffee table, but I may just end up painting the one I have now.  These updates will happen eventually and if I somehow money starts growing on trees... (*fingers crossed*), I'd love to get all new floor-to-ceiling bookcases to make better use of the space above my current bookcases.

3) Art work.
As you can see, bookcases and windows take up most of the wall space in this room, but I'm still looking for some library-ish art to work into the room.  Right now the only thing on the walls (besides books!) is this READ poster - which I absolutely love:

Although I framed it quickly to prevent it from getting funky, I have yet to actually hang it up on the wall.  Right now it is just propped up on the window-level shelf.  Eventually it will make it up on the wall :)

Next, I recently found this so so neat (but expensive -yikes!) idea for art that would be outstanding in the library!  Obviously I tend to collect books in general, but I collect two titles in particular. 


I started collecting any decent and interesting copy of A Tale Of Two Cities (Charles Dickens) or Pride & Prejudice (Jane Austen) that I find - and the older the better!  Which leads me to the neat idea.  Today while (procrastinating) I found this on Pinterest.
The full book printed out on a poster around cute little silhouettes.  Seriously?  This was too good to be true.  So I Googled.  There is a company called Spineless Classics that offers posters of various famous novels.  Each poster is a legible, full-text "spineless" version with a recognizable image "cut out" of the text.  Why am I just now hearing about these?  Wow.  And, believe it or not, it gets better! :)
They also have both of the titles I collect!!
How amazing would these look behind my collections of each book?!  It could be mind-bottling..."You know, when things are so crazy it gets your thoughts all trapped, like in a bottle?" (Anyone? Name that movie!)

Anyway, it's something to consider for the future and dream about now.  I know.  What a nerd-dreaming about books printed as posters for their person library...but this librarian wanna-be can't help herself!  And rationalize with this: There are many worse addictions than books! :)

Wednesday, July 27, 2011

An Addiction, A Challenge, and A Somewhat Confident Raise

As I continue to work on the Summer Overhall house make-over marathon (more updates coming soon!), I decided to take a break and catch up on one of my favorite decorating blogs, Young House Love.  This is were I read about The Pinterest Challenge, which seems fitting since I discovered Pinterest (to which I am now seriously addicted!) on YHL this past spring.  The purpose of the challenge is to take all of the neat ideas pinned on Pinterest (read more about "pinning" here) and turn them into a reality. So...

The Challenge: to create one item inspired by something found on Pinterest each season.

Well, I'd like to see that challenge and raise two projects, taking my grand total for the year to SIX new decorating projects inspired by Pinterest.  (Gasp...!) 

I know, I know, bold, isn't it?  But I already have several projects under my belt that were based off of Internet finds (here, here, here and here) and Pinterest just makes it that much easier to locate the neat ideas and inspirations!  Plus, I really want to stay motivated and keep up the new projects once I start back to work (but let's not think about that yet - ugh!!!)

Now for the first idea.  Even though it may sort of be cheating, I want to make another "toilet roll art" piece.  Here is the original inspiration from a while back:
 And here is what I ended up with to hang in the empty space over the television:
I did like the final result, but I've always felt it was not exactly what I wanted for that space.  I'm hoping to use the above piece elsewhere in the house and create a new design for above the television.  Here is the inspiration (via Pinterest) for the new design:


I've been saving up toilet paper rolls and now I just need to grab some glue and some spray paint and I'll be ready to go.  Stay tuned for the result (and project #1 completion!).

Tuesday, July 19, 2011

Summer Overhall: Day 5 - The Girly Guest Room

In a previous post, I had gathered a few inspirational pictures for a purple, white and black guest room and I'm finally on my way!  I can't believe how much the room has changed in just the two years I've been here and the paint today took it one step further.  Here is the history of the guest room in the making.

Here is the guest room right after I moved in about a year and half ago:

(A little foreshadowing:...If you look above the light switch right next to the door you can see the purple paint sample that I would eventually decided on and will be seen later in this post!)
About 6 months ago, I decided to move the furniture around some and clean out some of the "junk" that had ended up there during the move.  

Then I switched out the old duvet for a new white one from Ikea and did a little more cleaning:
Yesterday, I started covering the dark green from the previous owners with some serious primer.

Here it is after at least two coats of primer:


Today we got the paint up!  I went with a light purple (Valspar's Sweet Lilac) for the walls and plan to use black, white and gray accents in the room.  After the paint dried I go the bed and rug back in the room and set up a "test night stand".  I wanted to try out  a white Lack table (from Ikea) with one of the black lamps with a white shade that I bought at my friend Randi's Yardsale and a little purple flower. Here are the results:
 

Here is the accent pillow that I bought for this room at Target (love this thing!).
An up-close of the "test night stand".  I think I like it!  I'm heading to Ikea to pick up a matching table for the other side of the bed.  I already have a matching lamp waiting!  (The mirror on the table will be moved to a dressing table eventually - mentioned next).
 Eventually I want to get a small "dressing table" for this small wall.  I will hang this mirror on the wall above the table and set the standing mirror above on the table with a few little jars/trays/various nick-nacks.  The mirror is holding the table's place for now I guess.
Glad to have the guest room on its way.  I still plan to add a second night stand, white curtains, some thing on the blank walls, a the dressing table, and I hope to find a little bench to fix up for the foot of the bed - so stay tuned for future guest room updates.

So once again, lots of changes.  Here is the before and after, side by side for dramatic effect.

Today we also worked on the library and completed a few small but neat updates throughout the house.  Once the library is finished (hopefully tomorrow) I'll post the rest of the house updates!

Monday, July 18, 2011

Summer Overhall: Day 3 & 4 - Now we're getting somewhere!

Day 3 of the Make-over marathon was somewhat uneventful but very productive.  First, we got my living room put back together (for the most part at least).  Then we finished both of the stairway/hallways.  Lastly, I cleaned out the library (it was a mess!!) before calling it a night.

Here is what the living room looked like as we started in on the hallway - freshly painted, furniture moved back and albums back up.  Still keeping blankets and sheets over the furniture so we don't get paint all over it though!
And this is where I left off with the hallway yesterday:
And this is the hallway all painted and tape/drop cloth free:
Here is a freshly painted stairway down to the library (you can start to see the mess):
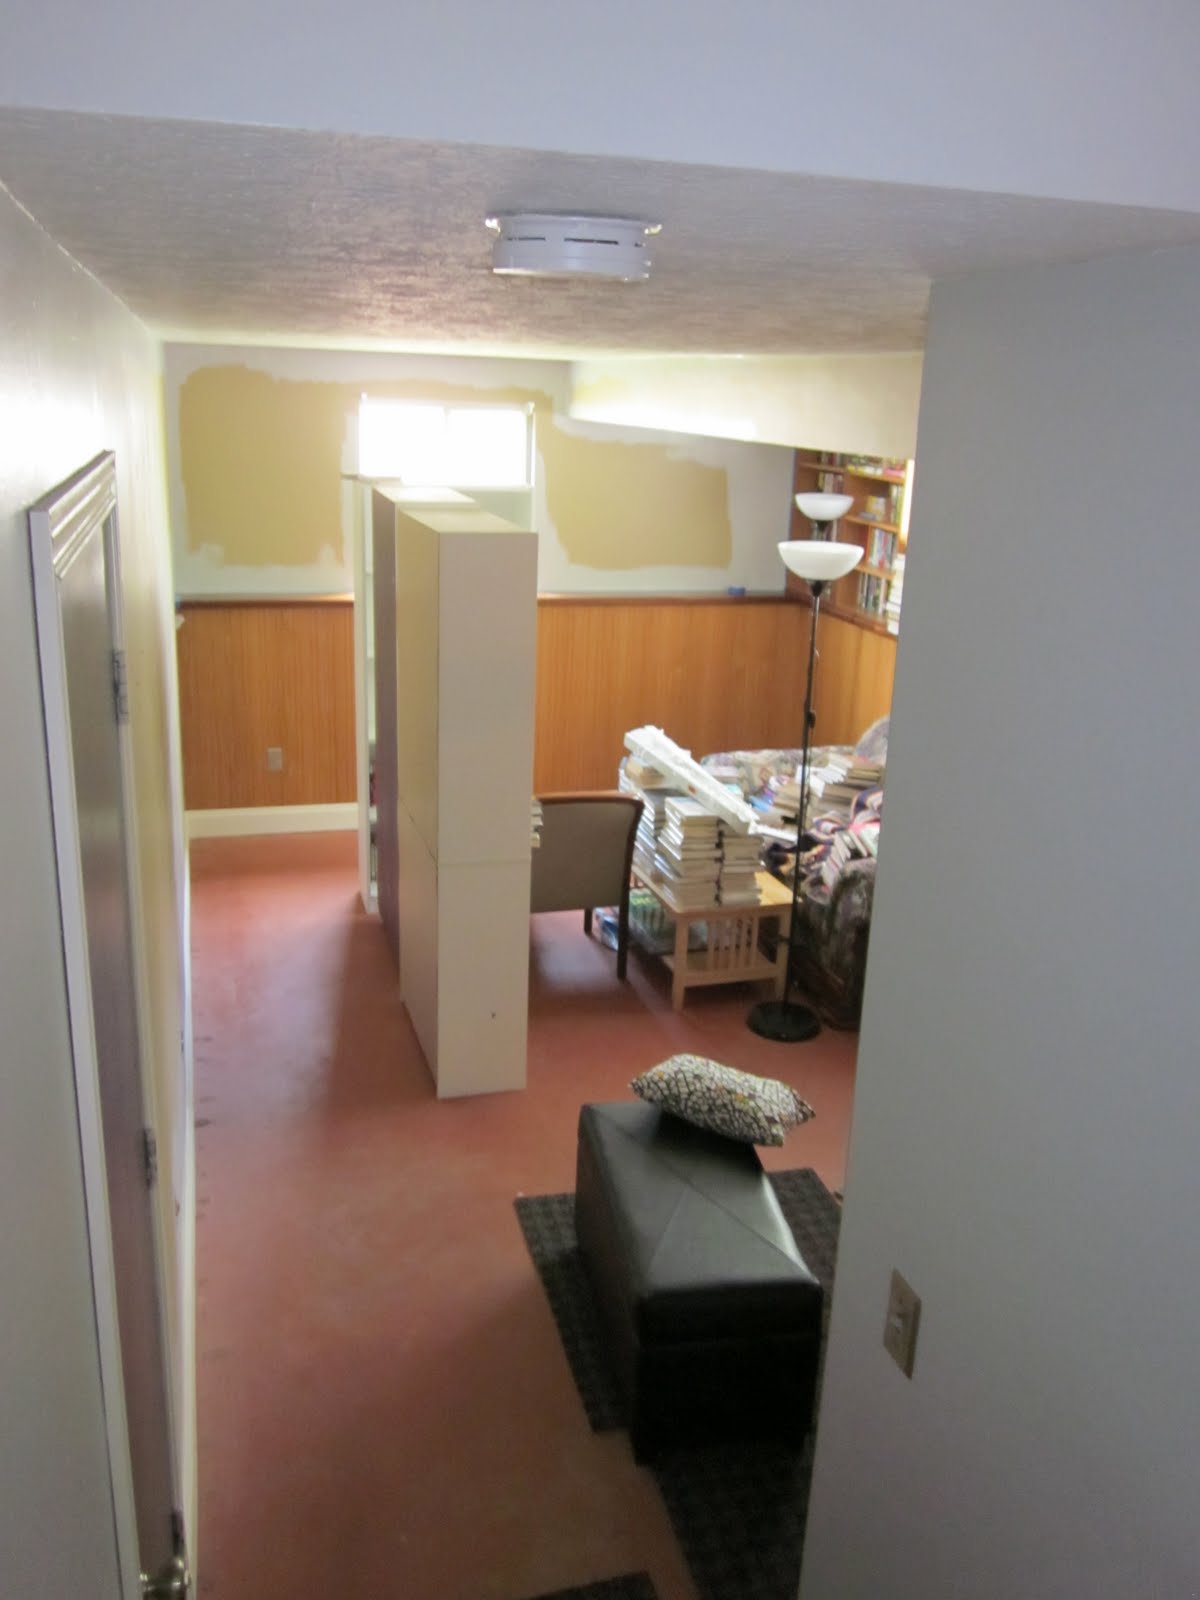
And here is the library pre-cleaning (yikes):
There were lawn chairs from 4th of the July weekend, my suitcases from our Europe trip, a box of stuff from school, the vacuum, a RockBand drum set, extra lamps, and obviously all of my (many many) books...what a mess!  But after a few hours of moving this here and putting that there...
A library with a lot less clutter but still way too many books (if there is such a thing!).  
[You can't see hardly any books from this shot but there are four bookcases and two sets of build in shelves full of books that are sort of hidden in this pic!]

      *     *     *     *     *     *     *     *     *     *     *     *     *     *     *     *     *

Waking up on Day 4, I felt really great about our progress so far.  We had already painted a lot and managed to keep everything pretty cleaned up (picking up each day, putting the furniture back, replacing outlet covers, etc) as we went along and the library looked much better.   I still wasn't to stoked about how the gray color I'd picked was turning out on the walls - it reads a lot more bluish than the gray that I'd wanted...  but by the end of the day I we would finally be getting into something turning out just as I'd hoped.

Day 4 ending up being time to finish some odds and ends.   First, Dad started putting up shelves in my hallway closet.  A lonely hamper and the shelves, ready to be installed:
 Freshly installed shelves - so so happy for the extra storage!!
Of course I immediately had to test out the storage capacity with some blankets and towels.
So excited to have finally hallway storage!  This closet has been full of boxes of towels and sheets so far - not optimal.  Now I've got plenty of room for them on their own shelves.  Also, eventually I'll put up a curtain back up as a "door" once I find one to match the new color (the old one doesn't look right).  So stay tuned for the new "door" and probably a completely full closet!

Next, I tackled a small project - painting the cover on the doorbell....thingy?!  Here it is drawing attention to itself in the hallway before (the ugly brown box on the wall) and an up close shot:
I took it outside to give it a healthy coat of white spray paint.
[For those who read my FB status about the snake dropping down from the ceiling of the garage right next to me Indian Jones -style -- It was while painting this stupid  cover!!  And I thought it was going to be an easy project! ]

After a it dried, we got it right back up in "new" hallway.  Here is an up close picture and a shot of the newly white cover in the the newly gray hallway:

It still stands out some, but it looks much better than than it did before in the brown.  
So with two projects down, I got Mom to help with the last project of Day 4 - the "accent"/"island" wall [obviously I don't know what to call this odd wall].  Here is the wall (still with that awful maroon color) before we started painting:
And here is the wall with several layers of primer:
Starting with basically a blank canvas, I decided to try something eye-catching - a chevron pattern using white and gray.  So, we made a stencil to trace on the walls.  Here is Mom, tracing away.
Then I carefully taped the lines of the gray parts, remembering that the tape would be outside gray areas and inside white areas and looking strange when finished.


I dumped some gray paint into a disposable plastic cup so I wouldn't have to drag a full gallon of paint around.  I also tired (and LOVED) a trick I found here via Pinterest - wrapping a rubber band around the cup to wipe off excess paint and letting it drip back into the cup instead of it dripping down the outsides:
So I took my rubber band -wrapped cup and  I started painting in the gray parts:
Mom was very excited to take the tape off, so we anxiously waited for the paint to dry some before ripping it off and letting our hard work and effort shine through:
After getting all the tape down and the covers secured to the wall again, we put the mirror from this post and the table from this post back in place et voila!  
Finally something was going exactly as I envisioned and things were coming together!  I'm in love with this wall now and to make sure you all are too, here is a before and after.  Love away.


Tomorrow, we are going to start priming the bedroom (trying to cover the ridiculous shade of green the previous owners choose - they picked the darkest colors ever!) and get started in the library.